1. Introduction
Discovering a growing pothole on a driveway or parking lot is a common frustration for homeowners and property managers. Whether it’s the “clunk” from a car driving over it or the obvious tripping hazard it presents, a pothole is not just a visual blemish but a growing safety issue and potential liability. When faced with this damage, many immediately seek a quick, effective, and manageable solution.
Scope: This homeowner guide covers small, localized repairs with bagged cold-patch products. It does not cover structural paving or every cold-mix chemistry. For a material-by-material technical comparison, see Hot Mix Asphalt vs Cold Patch Asphalt.
This is where Cold Patch Asphalt enters the picture. It is widely marketed as an accessible, DIY-friendly repair material designed for homeowners and property managers. However, to use this material correctly and achieve lasting results, it is crucial to understand what it is, how it works, and its fundamental differences from professional road construction.
The sections below explain the major material categories, application limits, and preparation questions a homeowner should check before choosing a product.
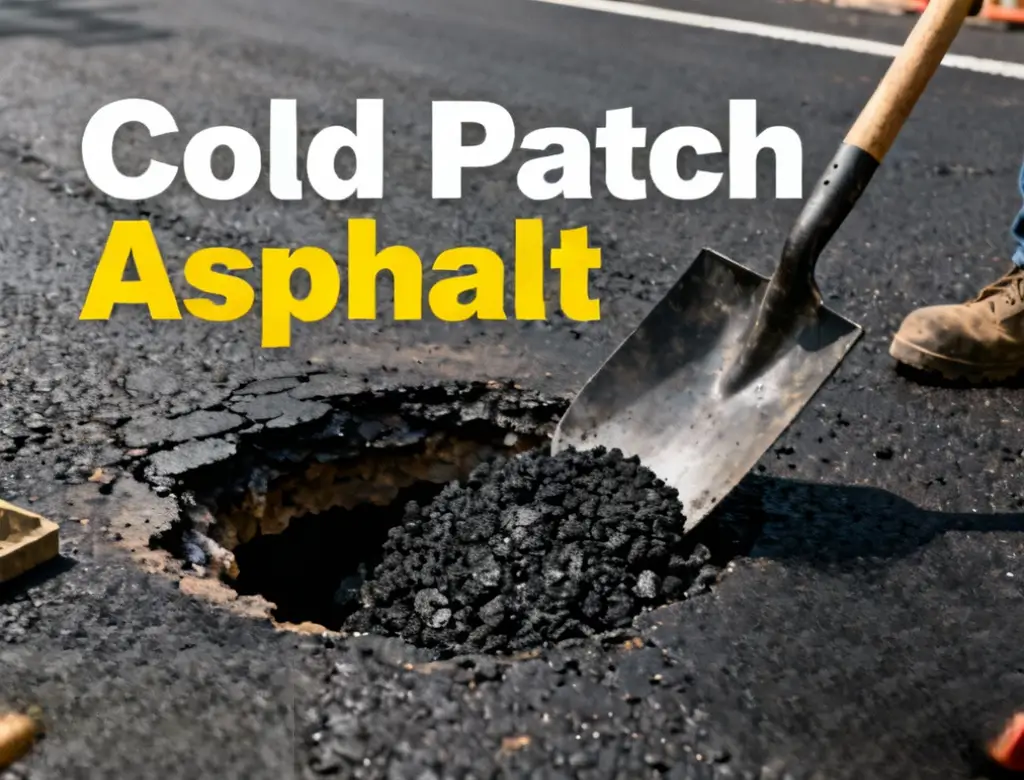
2. What Is Cold Patch Asphalt?
Cold patch asphalt is a pre-mixed, ready-to-use repair material for fixing potholes and cracks in asphalt or concrete pavements without heating. Its core value and name derive from its “cold” characteristic—it can be applied at ambient temperatures, unlike traditional paving which requires high-temperature heating.
Core Components (A Simple Primer)
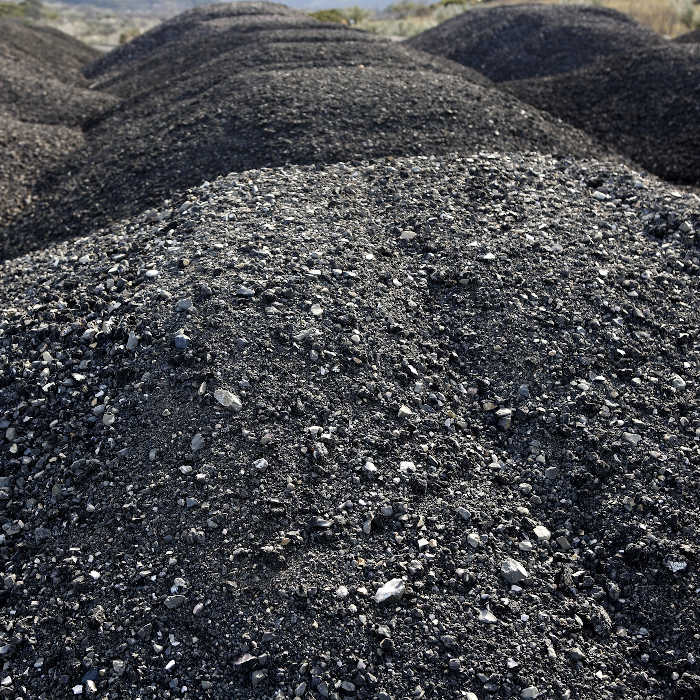
Like all asphalt pavements, cold patch consists of two core components:
-
Aggregates: This is the material that provides structure and strength, including small stones, crushed rock, and sand.
-
Binder: This is the “glue” that holds the aggregates together. In cold patch asphalt, this is often a high-tech mixture, not just standard bitumen. It typically contains polymers, proprietary additives, and diluents or solvents. These additional ingredients keep it flexible and workable at room temperature.
Curing depends on the product chemistry
Cold-patch products do not share one curing mechanism. Some become stable mainly through aggregate interlock and compaction while volatile components dissipate; emulsified products lose water; reactive products may require water activation. Traffic readiness, moisture tolerance, lift depth, and later hardening are therefore label-specific.
Compaction is important for most bagged patch materials because it reduces air voids and develops aggregate contact. It does not make every product immediately cured, and traffic should not be used as a substitute for the specified initial compaction.
3. Cold Patch vs. Hot Mix Asphalt: Key Differences
For a homeowner, the core question is often: “Why don’t I just use ‘real’ asphalt?” The answer is that cold patch and ‘real’ asphalt (i.e., Hot Mix Asphalt, HMA) are two different tools designed for completely different purposes and scenarios.
This is generally not a question of “Material A vs. Material B,” but rather a feasibility question of “DIY vs. Hiring a Professional” and “Now vs. Later.”
Hot Mix Asphalt (HMA) is the professional-grade material used to build highways and new driveways. It must be heated to approximately 150°C / 300°F at an asphalt plant for production and application and requires professional heated trucks, pavers, and heavy-duty rollers to be installed correctly. This makes HMA completely infeasible for a homeowner’s DIY project.
HMA placement is constrained by the project specification, lift thickness, surface condition, ambient conditions, haul time, and plant availability. Cold weather shortens the compaction window; it is not accurately described by one universal temperature rule.
The value of cold patch lies precisely in its ability to fill the huge gap left by HMA. It (A) makes DIY repair possible, and (B) it is often the only available solution during winter or rainy seasons.
The table below details the key differences between the two:
| Feature | Cold Patch | Hot Mix Asphalt |
|---|---|---|
| Heating Requirement | No heating needed, ready-to-use | Must be heated (approx. 150°C / 300°F) |
| Ease of Application | Very high (DIY-friendly) | Professional (Requires heavy equipment and crew) |
| Weather Suitability | Wide range (Can be used in wet/cold conditions) | Must be applied in dry, warm weather |
| Durability | Medium (Often considered a temporary or semi-permanent fix) | High (A permanent, structural repair) |
| Traffic readiness | Product-specific after required compaction/cure | After placement, compaction, and sufficient cooling under the project procedure |
| Use Cases | Homeowner DIY, small potholes, emergency repairs | Highways, parking lots, new construction |
| Cost | By the “bag,” higher unit cost | By the “ton,” high total cost but low unit cost for large areas |
4. Advantages and Disadvantages of Using Cold Patch
Based on the comparison above, cold patch asphalt presents very clear advantages and compromises for homeowners and property managers.
Advantages (Pros)
-
Convenience: No mixing or heating required. Just open the bag, pour, and compact.
-
DIY-Friendly: No professional tools or heavy equipment needed. A shovel and a tamper (or even a car wheel) are all that’s required.
-
All-Weather Application: This is one of its defining strengths. Many formulas are designed to be hydrophobic, allowing application in wet, cold, and even sub-freezing conditions.
-
Immediate Fix: The repaired area can be opened to traffic immediately after compaction, with no need to wait for it to ‘dry’ or ‘cool’.
Disadvantages (Cons)
-
Durability Limitations: This is the biggest trade-off. Cold patch is generally not as durable as hot asphalt. Hot mix ‘fuses’ with the existing pavement via heat, while a cold patch bond is at the surface level.
-
Permanency: Conventional cold patch is generally temporary or semi-permanent. Some proprietary, high-performance mixes are marketed for long-term repair, but performance still depends on base stability, preparation, lift thickness, compaction, traffic, and climate.
-
Cost: For a small pothole, buying by the bag is economical. But for very large areas, the cost per bag accumulates quickly and can become more expensive than hiring a professional (who would use hot mix).
-
Aesthetics: The color and texture of the repair may not perfectly match the original pavement, leaving the patch visually obvious.
5. Ideal Use Cases for Cold Patch Asphalt
Based on its characteristics, cold patch is the ideal choice for some scenarios and completely unsuitable for others.
Ideal For
-
Homeowner Driveways for small to medium-sized potholes.
-
Emergency Repairs: As an emergency fill during winter or rainy seasons when professional (hot mix) crews are shut down.
-
Safety Hazards: Situations that require an immediate fix for a tripping hazard or to prevent a pothole from expanding rapidly.
-
Temporary Holds: As a stop-gap measure for a few months before a full, professional repaving is scheduled.
Not Suited For
-
Large-Area Resurfacing: Attempting to pave an entire driveway or a large area with cold patch. It lacks the structural integrity, will fail quickly, and is cost-prohibitive.
-
High-Traffic Zones: Not suitable as a permanent solution for commercial parking lots or roads with heavy truck traffic.
-
Structural Issues: This is the most critical limitation of cold patch.
Key Limitation: Repairing the Surface, Not the Foundation
Pothole formation is often more than just surface wear; it is frequently a symptom of foundation (base) failure underneath the pavement, usually caused by water intrusion.
Cold patch asphalt is a ‘filler,’ not a ‘foundation.’ It only replaces the surface asphalt layer. If the base beneath the pothole is soft ‘mush’ or unstable soil, the cold patch is like a plate on a sponge. No matter how well it’s compacted, it will quickly sink or fail again.
A common sign of a base problem is ‘alligator cracking’ (a web of cracks). If this type of cracking surrounds the pothole, or if you are trying to fix a fundamental drainage slope problem with cold patch, the repair is destined to fail. Cold patch fixes the ‘surface,’ not the ‘root cause.‘
6. Practical DIY Guide & FAQ
For scenarios where cold patch is appropriate, the effectiveness of the repair—whether it lasts six months or six years—depends almost entirely on preparation and compaction technique. Most DIY repair failures stem from skipping these crucial steps.
Authoritative DIY Guide: How to Make Your Cold Patch Last
Step 1: Tools Needed
Essentials:
- Shovel (for filling)
- Hand Tamper (for compaction)
Useful when permitted by the product instructions:
- Stiff-bristled brush or leaf blower (for cleaning)
- Hammer and Chisel (or pry bar)
Step 2: Prepare the Pothole (The Most Important Step)
Clean: Thoroughly remove all loose asphalt chunks, dirt, weeds, and debris from the pothole.
Address Water: While many products claim to work in wet conditions, you must remove all Standing Water.
Edge preparation
A common reason for DIY failure is trying to fill a ‘bowl-shaped’ pothole with sloped edges. During compaction, the material is squeezed out from these sloped edges and cannot ‘lock’ in.
FHWA documents several pothole preparation methods, and saw-cut vertical faces are used for some full-depth repairs. A homeowner should not enlarge a defect or use impact tools near utilities, unstable edges, or public pavement without understanding the risk. Follow the selected product procedure; at minimum remove loose, unsound material and stop if the base is soft or pumping.
Step 3: Fill and Compact (Work in Lifts)
Check the depth of the pothole. If it is deeper than 2-3 inches (approx. 5-7 cm), you must work in layers.
Expert Technique: “Compacting in Lifts”
If you fill a 6-inch-deep hole all at once and only tamp the top, the bottom 4 inches will remain loose. This will cause the patch to sink or fail quickly.
The correct method is to work in lifts (layers):
- Fill about 2 inches of cold patch.
- Thoroughly compact this layer with the tamper until it is firm.
- Fill the next 2 inches, and compact again thoroughly.
- Repeat this process until full.
For very deep holes (e.g., over 4 inches), you can fill the bottom with crushed gravel, compact that, until the last 2-3 inches, and then begin filling with cold patch in lifts.
Step 4: Finishing (Creating a “Crown”)
When filling the final layer, make it about 1/2 to 1 inch (1-2.5 cm) higher than the surrounding pavement. This is called a ‘crown.’
- Compact: Use the tamper starting from the outer edges of the patch and working your way to the center. This locks the edges in.
- Continue tamping until the patch is level with or slightly above the surrounding pavement.
- Continue with the hand tamper or specified compactor until the material meets the product’s finish guidance. Avoid improvised vehicle compaction, which can shift the patch and creates a work-zone safety risk.
Step 5: Open to Traffic
Clean your tools. The area is immediately ready for traffic.
Frequently Asked Questions (FAQ)
Q1: Is cold patch asphalt permanent?
A: Conventional products are normally temporary or semi-permanent. Proprietary high-performance mixes may last much longer when correctly installed, but a surface patch cannot correct a failed base or drainage problem. Follow the specific product data sheet rather than assuming all cold patches cure or perform alike.
Q2: How long does cold patch take to ‘dry’ or ‘cure’?
A: There is no universal answer. Compaction establishes density for many products, while evaporation, emulsion breaking, cooling, or a chemical reaction may continue afterward. Use the label’s traffic-ready time for the actual temperature and lift depth.
Q3: Can I use cold patch in the rain?
A: Only when the product permits it. Some products tolerate wet holes, some require removal of standing water, and others require a dry substrate. “All weather” does not eliminate preparation requirements.
Q4: My patch still seems soft/tacky. Is this normal?
A: It may be normal for some products, but persistent pickup, tracking, settlement, or movement should be checked against the technical data sheet. Do not assume traffic will correct inadequate initial compaction.
Q5: Can I apply sealcoat over a cold patch?
A: Check both manufacturers. Some patch and sealcoat chemistries are incompatible, and waiting periods vary. A universal 30-day rule is not reliable.
7. Conclusion
Cold patch asphalt is an extremely valuable tool in a homeowner’s and property manager’s toolbox. It provides a solution for quick, convenient, and low-cost pothole repairs when they are needed (regardless of the weather).
However, expectations must be managed correctly. Cold patch asphalt is for ‘patching,’ not for ‘paving’. It cannot solve structural issues like foundation failure.
Ultimately, the success of a cold patch repair depends less on the product itself and more on the application. Understanding its unique compaction-based curing, and diligently following the proper preparation (like ‘squaring the edges’) and application techniques (like ‘compacting in lifts’), is the key to turning this temporary fix into a durable, reliable repair.
Sources
- FHWA Materials and Procedures for Repair of Potholes in Asphalt-Surfaced Pavements
- FHWA publication record for the pothole repair manual
- EPA information on cutback asphalt and asphalt manufacturing
Always check the current product label for weather limits, maximum lift depth, compaction, curing, and sealcoating compatibility. Use the pothole repair calculator to total multiple prepared cavities from product density and bag weight.