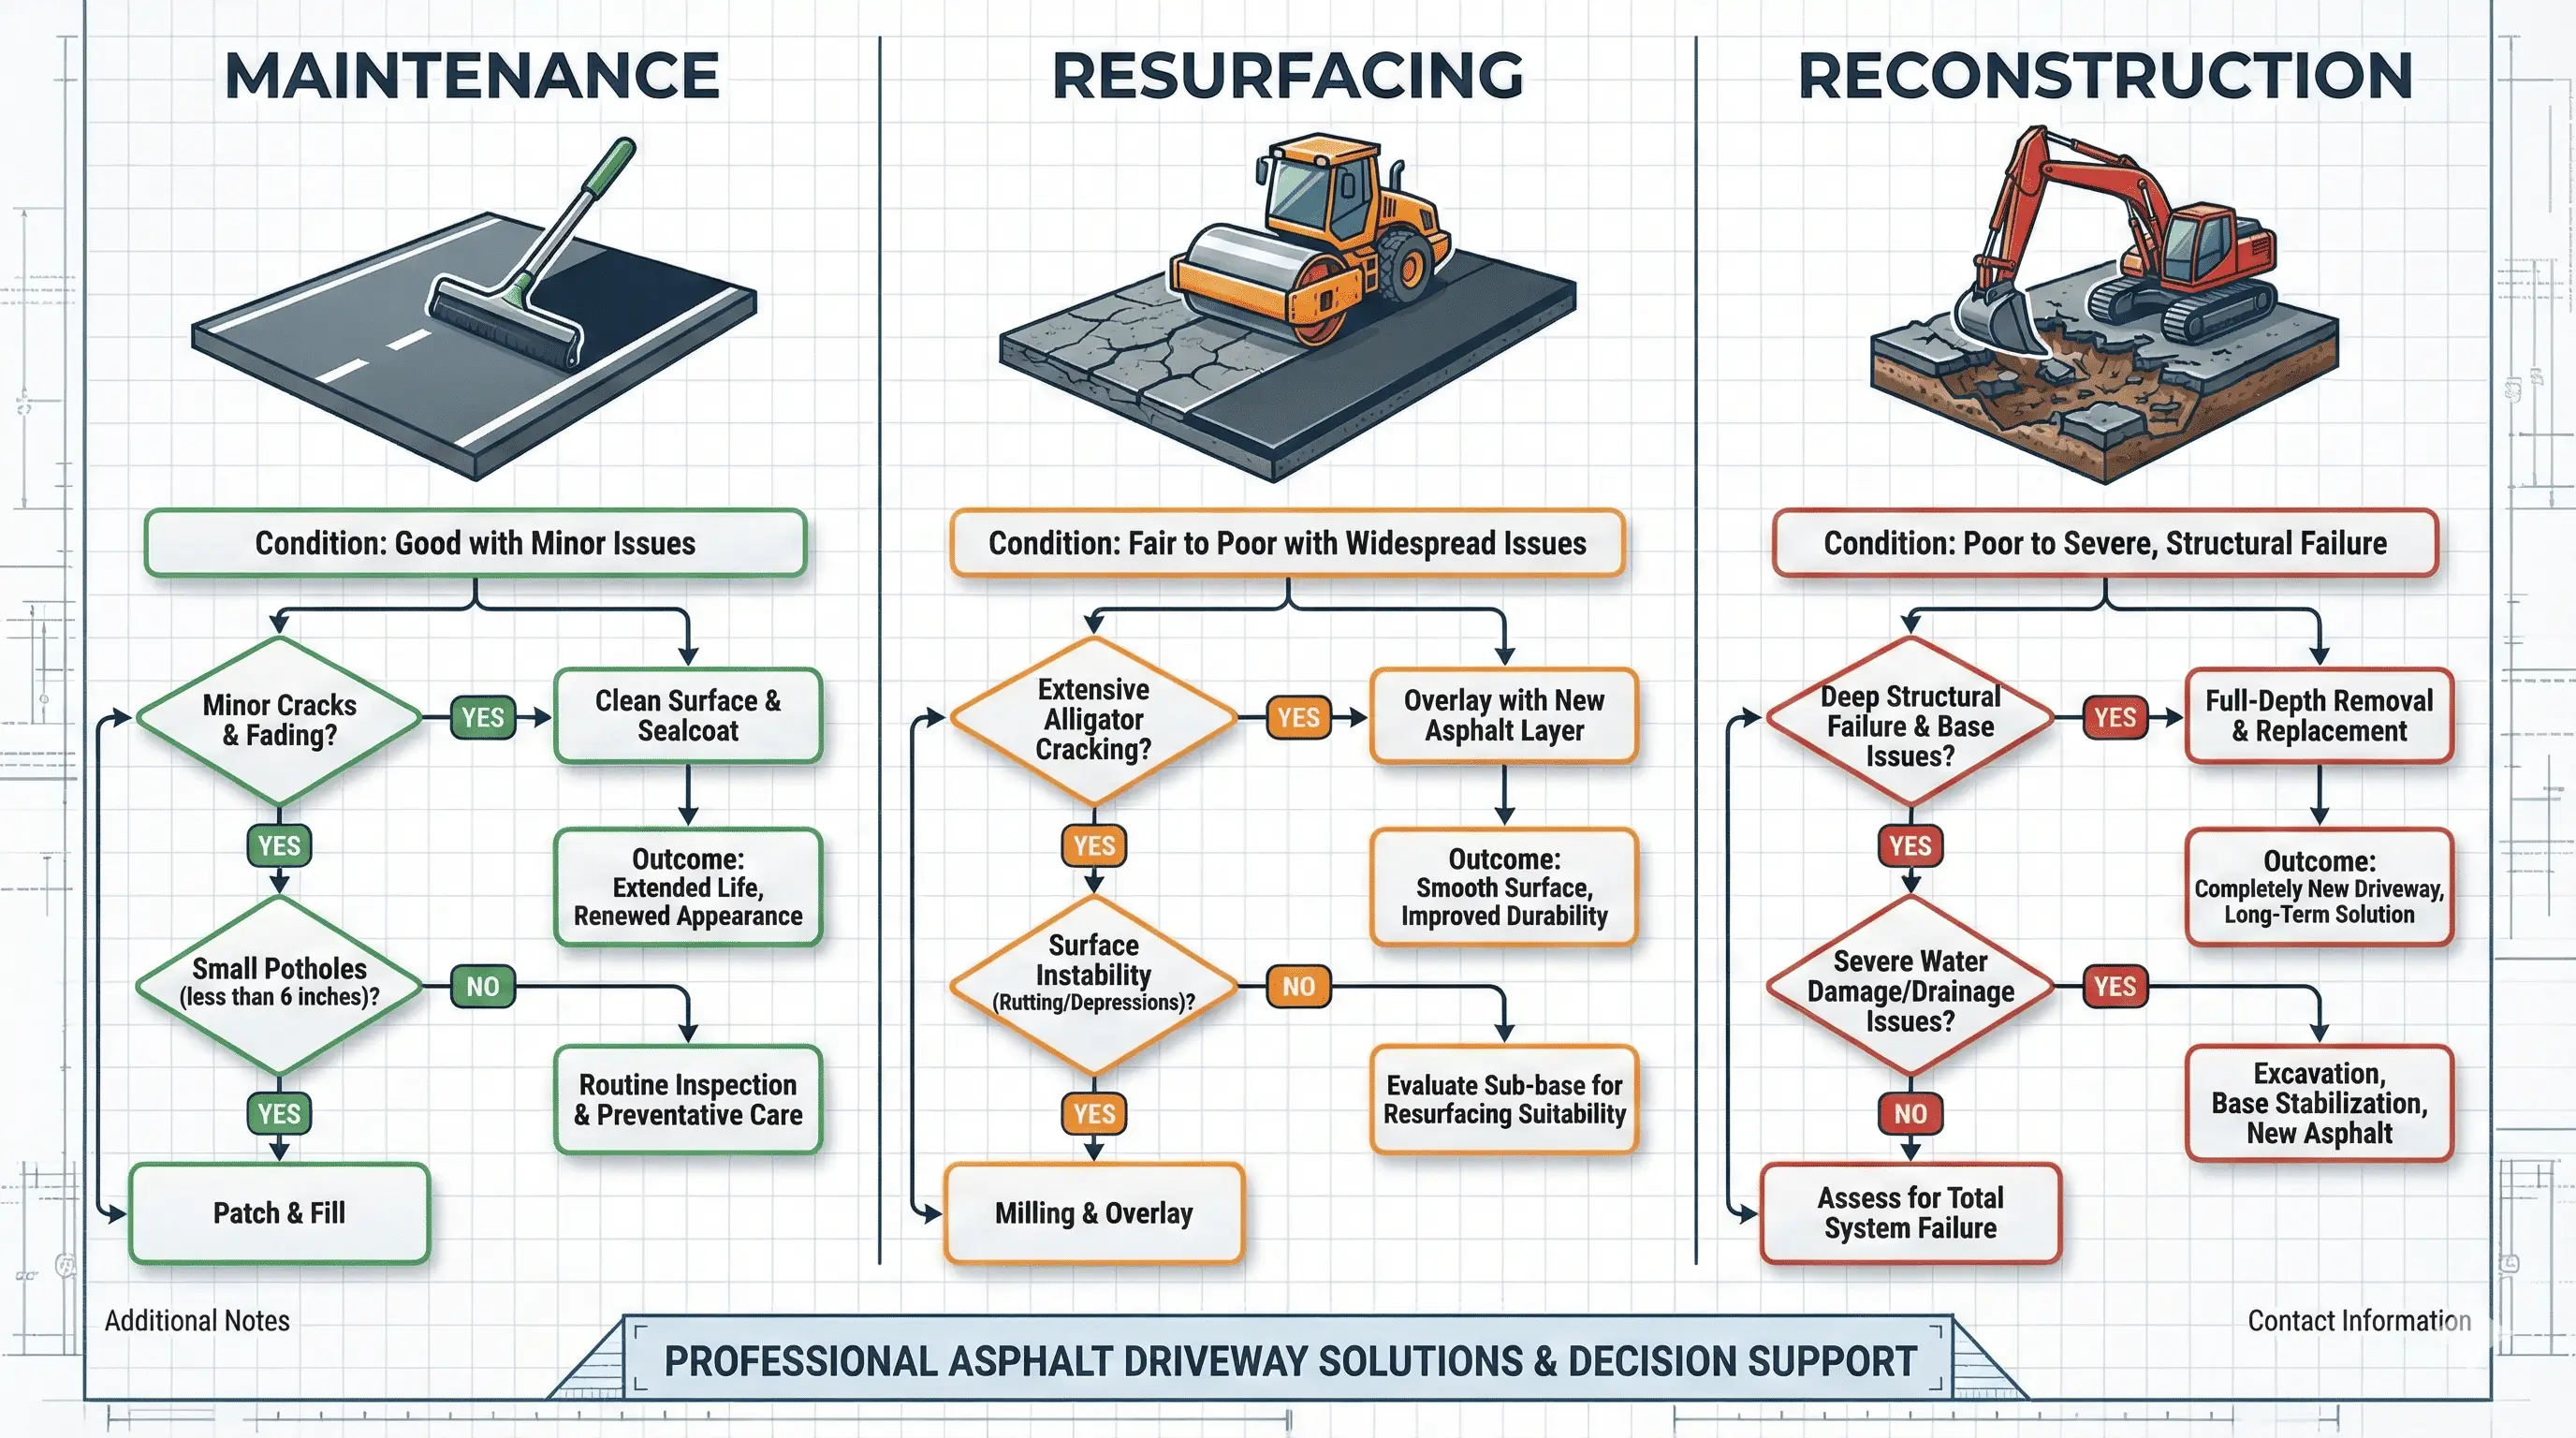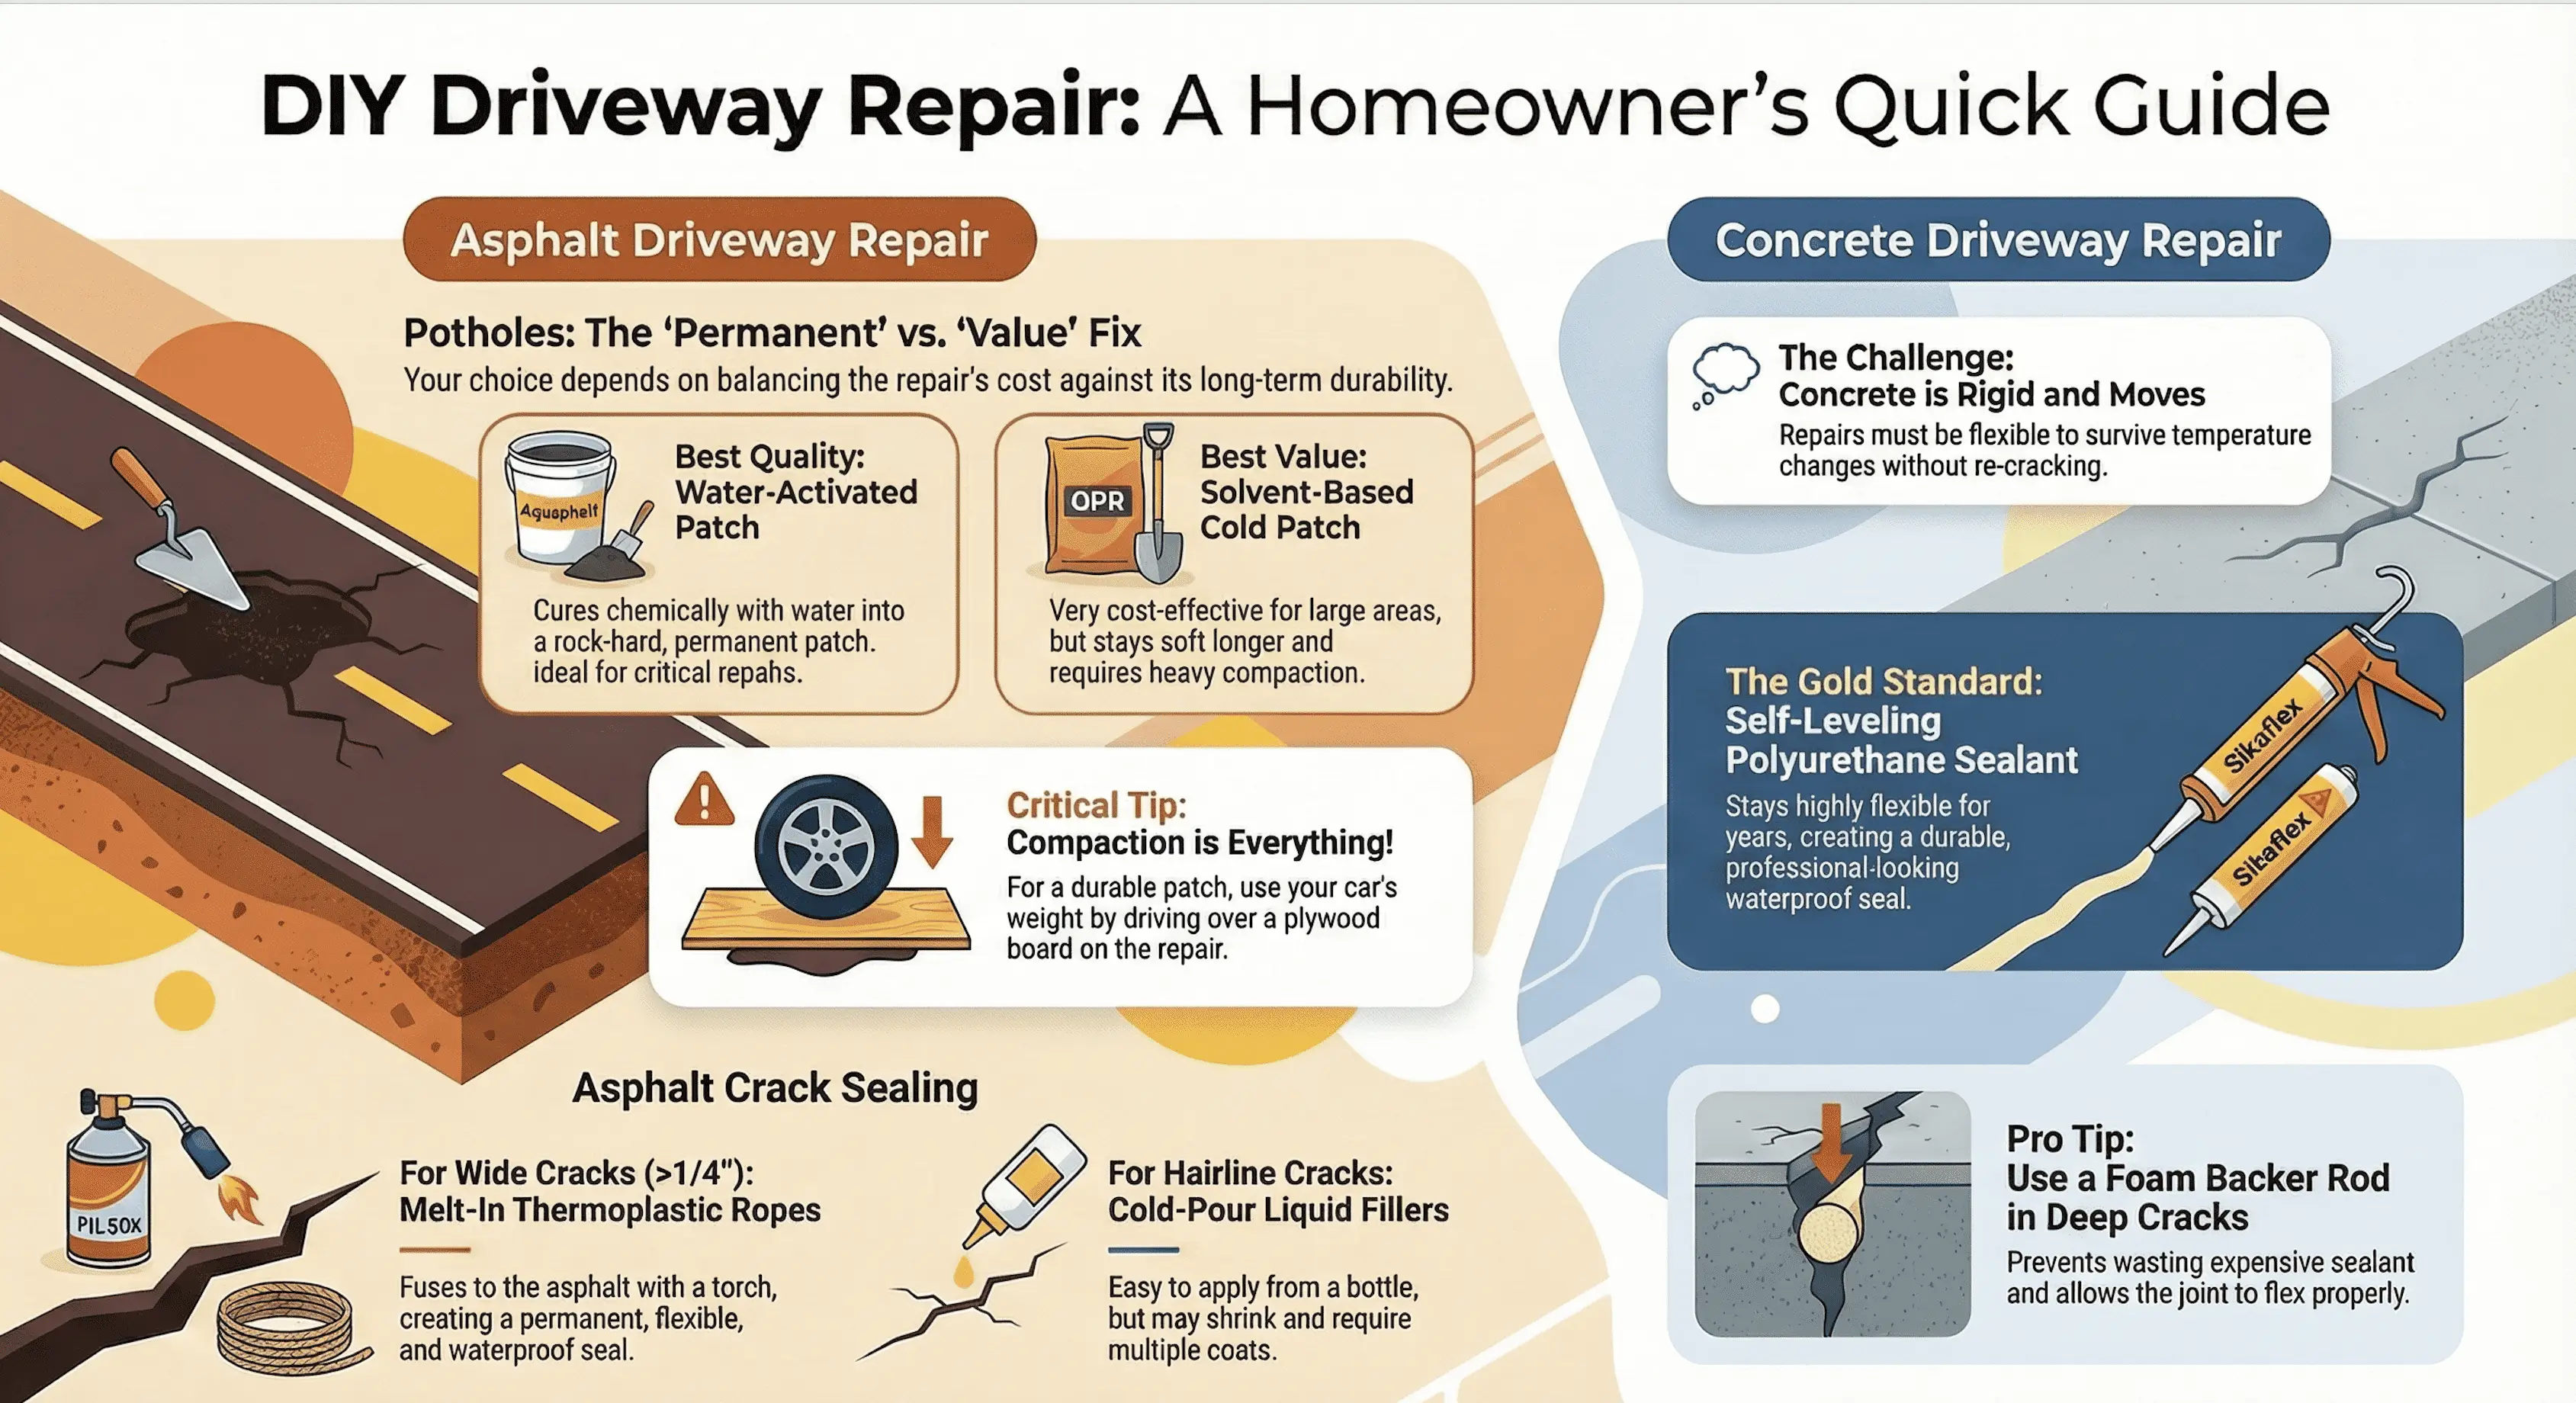
DIY pavement work can slow water entry and restore a small, stable defect. It cannot rebuild a failed base, correct unsafe drainage, or turn widespread fatigue cracking into sound pavement. The first professional-grade habit is therefore diagnosis—not product selection.
Review method: Product categories are compared by intended use and published instructions. This is not a controlled field test or a substitute for the current label and safety data sheet. Never combine instructions from different products.
1. Decide whether the repair is suitable for DIY work
Reasonable DIY candidates
- An isolated asphalt pothole with firm material beneath it
- A narrow asphalt crack without settlement or alligator cracking
- A non-moving, shallow concrete surface defect
- A concrete joint or crack suitable for a flexible sealant
Stop and obtain professional assessment when
- Cracks form an interconnected alligator pattern
- The surface pumps, sinks, heaves, or repeatedly holds water
- Failure covers a large portion of the driveway
- The defect reaches a structure, public sidewalk, road, or utility
- Concrete has displacement that creates a trip hazard
- The repair requires hot asphalt, structural concrete, excavation, or traffic control
Use the repair, overlay, or reconstruction guide for this first screen.
2. Identify the pavement and defect
Asphalt is flexible and uses bituminous binder. Concrete is rigid and depends on cement hydration, joints, and reinforcement. A product intended for one should not be assumed compatible with the other.
| Defect | Likely product category | Main limitation |
|---|---|---|
| Small asphalt pothole | Bagged cold-patch material | will not correct failed support |
| Moving asphalt crack | Flexible crack sealant labeled for that width | cannot repair fatigue cracking |
| Non-moving asphalt crack | Compatible filler | movement may reopen it |
| Concrete control joint | Flexible joint sealant | joint geometry and backer rod matter |
| Shallow concrete spall | Cementitious repair mortar | substrate preparation and cure are critical |
| Displaced concrete crack | Professional evaluation | filler will not remove the movement or trip edge |
3. Read the label before preparing the defect
Record the manufacturer’s requirements for:
- Surface type and maximum defect size
- Minimum and maximum application temperature
- Wet, damp, or dry substrate
- Maximum lift or application depth
- Primer or tack-coat compatibility
- Mixing or activation method
- Compaction equipment
- Rain and traffic readiness
- PPE, ventilation, flammability, storage, and disposal
“All weather,” “traffic ready,” and “permanent” are product-specific claims. They do not describe every cold patch or sealant.
4. General asphalt pothole workflow
The FHWA pothole repair manual documents multiple materials and procedures; the product selected determines the exact steps. A conservative homeowner workflow is:
- Control the area. Keep people and vehicles away while working.
- Remove loose debris. Expose firm edges and support without enlarging the defect beyond your ability or the product instructions.
- Evaluate the bottom. Soft, wet, pumping material indicates a base or drainage problem; stop instead of burying it.
- Handle water as directed. Some products tolerate moisture or use water activation; others require a dry surface.
- Place in allowed lifts. Deep placement usually requires compacting successive layers, but lift depth is product-specific.
- Compact with the recommended tool. A hand tamper or plate compactor provides more control than driving a vehicle over an improvised plywood cover.
- Finish to the instructed elevation. Do not assume every product should be crowned by one inch.
- Protect until traffic-ready. Follow the label’s time and temperature conditions.
The focused cold patch asphalt guide explains material differences in more detail.
5. General asphalt crack workflow
- Identify whether the crack is isolated or part of structural failure.
- Remove vegetation, dirt, and failed old material using methods compatible with the product.
- Confirm crack width and depth are within the label limits.
- Install backer material only when the sealant manufacturer specifies it.
- Apply at the required temperature and substrate condition.
- Observe cure and traffic restrictions.
Avoid open-flame products unless the specific system calls for them and you can meet fire-safety requirements. Do not use a torch near solvent-bearing material, buildings, dry vegetation, or where local rules prohibit it. For most homeowners, a non-heated product is the safer option.
6. Concrete cracks and joints
Concrete repair depends on whether the defect moves.
- A flexible joint sealant must have the correct width-to-depth geometry and may require backer rod.
- A cementitious patch needs sound, prepared concrete and controlled curing.
- A structural or displaced crack needs diagnosis before cosmetic filling.
Do not pour rigid mortar into a joint intended to move. Do not assume a self-leveling sealant can be used on a slope or vertical face. Consult the current technical data sheet.
7. Product comparison without brand rankings
Price per container is not a reliable value metric. Compare:
- Finished volume or coverage at the actual defect depth
- Required tools and primer
- Shelf life and storage
- Weather window
- Traffic downtime
- Whether leftover material can be stored
- Suitability for the observed failure
A premium bucket used on the wrong defect is worse value than a basic product used correctly. Conversely, repeated cheap patches over a failed base defer the correct repair while the surrounding pavement deteriorates.
8. Safety controls
- Wear eye protection, gloves, long clothing, and footwear required by the label.
- Review the safety data sheet before opening the product.
- Keep children and pets away from the work zone and curing material.
- Control dust; do not scatter cement dust or other unlabeled materials over a patch.
- Do not mix bleach, herbicide, solvents, or cleaners unless the repair-product instructions explicitly permit them.
- Treat torches, hot-applied fillers, cutback products, and isocyanate-containing sealants as specialized hazards.
- Prevent uncured material and wash water from entering storm drains.
9. Inspect the repair
Photograph the defect before, immediately after, and after the first major rain or temperature cycle. Check for:
- Edge separation
- Settlement or a new depression
- Tracking or material pickup
- Water ponding
- Crack extension beyond the repair
- Movement of adjacent pavement
Repeated failure is evidence to reassess drainage and support, not merely apply more product.
Sources
- FHWA Pothole Repair Manual
- FHWA Pavement Preservation Resources
- EPA Asphalt Processing and Paving Resources
The most professional DIY repair is one that stays within the product’s tested use, controls safety risks, and stops when the damage reveals a larger pavement problem.